
As you now there are different ways of creating websites and the WordPress is the most simple and efficient way for it. The online store that is presented in this post is designed for selling some dresses and accessories. Let’s go!
- Choose and install the plugin
Before creating the website the user need to choose the plugin, which is more efficient for his/her website. I was digging through the WordPress plugins and find out the suitable one. I quested and found out the Huge-IT Product Catalog plugin. Sure there are other plugins such as WordPress Catalog, Catalog for Woocommerce, Product Catalog 8 and others but the one that I chose was the one I liked most.
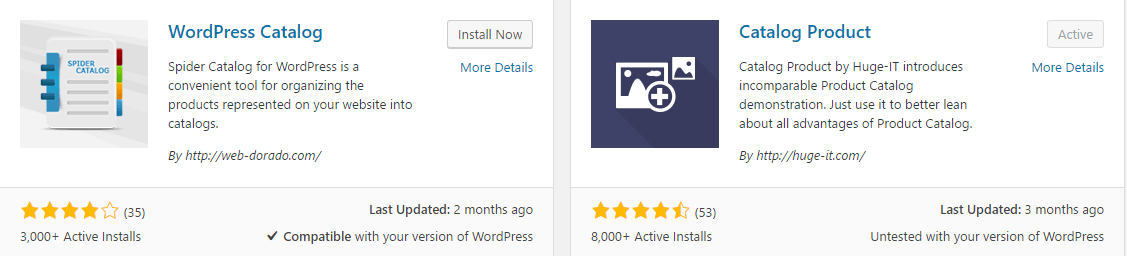
After searching the plugin it is necessary to install it on the WordPress website. Press the “install now” and just activate.
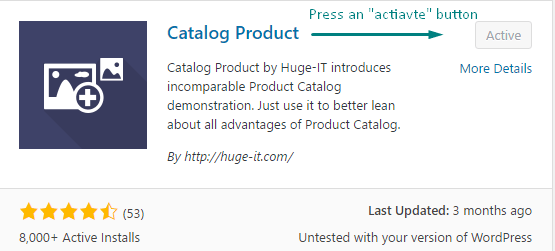
After the activation of the plugin the icon appears on the dashboard. So, let’s get acquainted with its functionalities and opportunities. Hope this information will be useful for online store creators.
- Upload images (products)
In order to create a catalog, simply go to the catalog page and add new catalog. For changing the catalog name the user need to press the pencil icon on the top and just to write the name he/she likes.
![]()
For adding products to the catalog first it is necessary to upload images to the media library from PC and only then from the Media Library to the Catalog. It is very important to be able to add multiple images at a time. The ctrl button may helpful in this case. There is no anything easier than pressing and selecting images, which are suitable for that particular project.
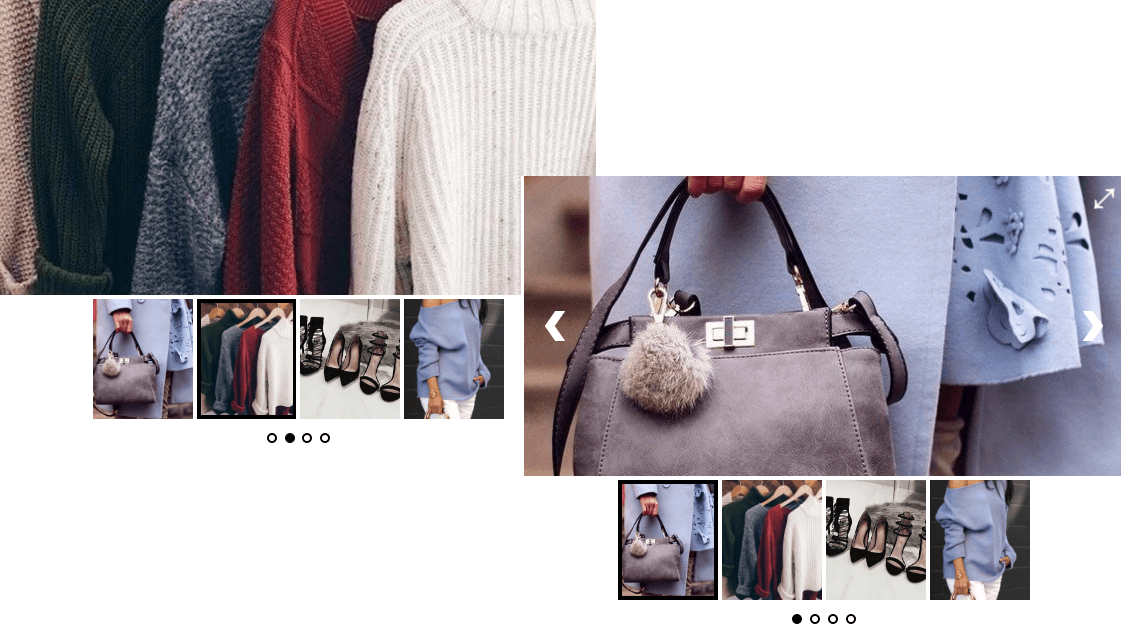
After installing the product let’s get acquainted with the options of the plugin. The most interesting feature of this plugin is that there is the option, where price discount. I am sure that everyone saw such kind of discount in the well known online stores as the ebay, Aliexpress, Amazon and so on. Sure they have different designs but the same aim, that it to attract the potential consumers. So, there are two fields for the price: one of them is the product’s real price and the second one is its discount. In the description field the website builder may write some additional information about that particular product: it’s appearance, material, size etc. Under the main image (that is the one that will appear with the largest size on a website) you can see the “plus” button-field, which is designed for additional images (some details of the product, other variants, colors, sizes of it and so on) . They are called thumbnails.
Another crucial tool of this catalog is a “view product” button. It has a special URL (it may be the page of a social network, website page, video link or something else). It can be opened in a new tab or just refresh the same page. By default it is set as the special page, which opens your products details.
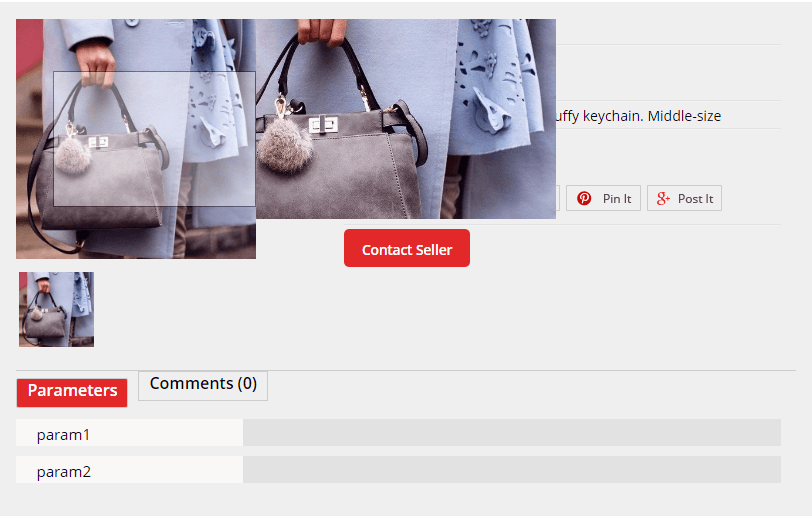
As it is obvious from the screenshot all the information about the product is collected here: rating stars, social shares, parameters and comments. All these additional information gives the overall idea of the product.
While hovering the main image the zooming effect pop-ups, it makes the details of the product clearer and brighter.
And the last part of this page is a “contact seller” button. It will help the website visitors to contact the owner-seller and order the product.
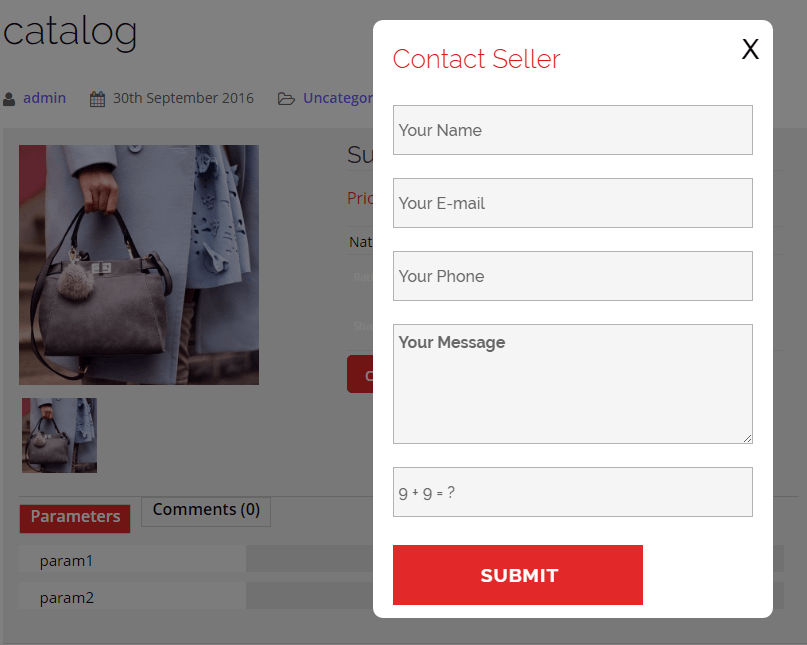
If this pop-up is not useful for the user, it can be replaced with any other information: Facebook page, LinkedIN, twitter and even some page where the contact form is added on your website. Anyhow, your visitors need to contact you in order to have more information or order the product. In this case the Breezing Forms plugin may help you to communicate with your customers. Sure, there are many other plugins and the website designer may use the one that satisfies all his/her needs and requirement. This one is just an example.
- Select a view
After adding the products, writing all the information about them it is an appropriate time for selecting the view. They all are so different but so attractive. The views are Blocks Toggle Up/Down, Full-Height Blocks, Catalog/Content-Popup, Full-Width Blocks and Content Slider. For now I am using the Blocks Toggle Up/Down view. The usage of view mainly depends on the taste and overall design of the page. Also, the quantity of products on page can have a great impact on the user’s decision because if there are more than 20 items, it is not comfortable to use Full-Height Blocks. It will be better to use Blocks Toggle Up/Down or even Content Pop-up.
- Add the catalog to the page
There are different ways of adding the created catalog to the page or post. The easiest and fastest way is copying and pasting the shortcode to the page or post. This was is useful for adding the one catalog at time with all their items
But I would like to show a little bit complicated way. It is has a very interesting feature, that doesn’t exist while simply copying and pasting the shortcode. So, when selecting the catalog button, the popup with the list of catalogs will emerge.
From this list it is possible to choose the catalog, which one the user decided to has in his/her post. Having simultaneously as many catalogs as the user wants is not a problem. The ctrl button will help here too. After inserting the catalog(s) to the posts and publishing, it will appear on the page. Here is the peculiarity of adding the catalog with this way. After going to Products, it is possible to choose one of the catalogs and within it select separate products that will appear on the page. Let’s imagine that you have the ready catalog but one of of the items is already sold. In order not to go to the catalog, delete the item, save it and publishing again, it is available simply not to selecting it while publishing the catalog. This is the feature that I like most in the Huge-IT Product Catalog Plugin.

- Use other tools
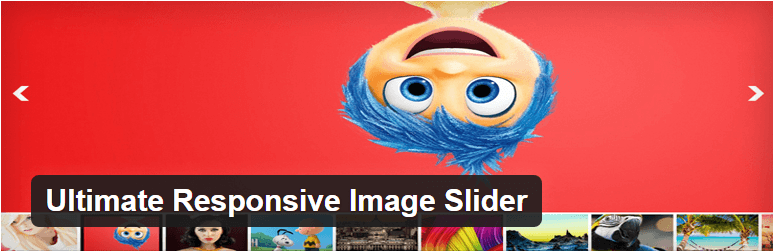
Of course, having the single catalog on the page is boring and too simple.So, in order to make it more professional and smart it is vital to use some other tools addition to the main catalog. These tools will decorate an online store. For example, I would like to have a slider with the products of catalog on the header of my Home Page. The slider will give the overall idea about your store and it may include items from different catalogs. One of various sliders that worth to use is Ultimate Responsive Image Slider.
This plugin is very easy to use and customize. For creating a slider we need to upload images, like in any other plugin and start to customize it. It is possible to change its width, height, title font style, size and colour. These options and not only are available even in the free version. Finding out free plugins with are such flexible is very important for the beginners and website creators, because before buying the commercial version it is more reasonable to get acquainted with the free version of the same plugin, test other plugins, compare them and only after finding the final slider, buy the commercial version of it in order to get more options available. This digging process will give you experience and quality in using any kind of plugin. So, let’s see what was my result with this slider.
As you can see it looks very interesting and attractive
Another tool that worth to be used while creating the online store is a Maps plugin. This plugin may help the owner of the online store to indicate his/her location, if it is a real shop this plugin will make to show where the shop is situated and consequently will make it more popular and easy to find too. For this purpose Basic Google Maps Placemarks plugin may be used. It allows adding different icons. There are other plugins that may indicate some directions, polygons, polylines and so one, but the decision is still up to the user.

If there was the idea about the popularity of the online store it is vital to note about the social Share Buttons plugins efficiency. Such kind of plugin will make an online store well-known and in a great request one’s store. According to this aim you the users may check out different share buttons plugin, among them is AddToAny Share buttons plugin

It is very simply in it functionality, because it fills the page with different icons of social networks and makes your store to “grow up”. Every click on icon will bring the user closer to his/her dream of being successful and well-known businessman
Finally, the example of online store is created with the help of different plugins and this is the first step towards the user’s dream and success. Keep on digging and finding different plugins which can be useful for such kind of a commercial websites may bring an experience and proficiency in this sphere of self- development and website building skills.
Bio:
My name is Anna. I adore creating and sewing dresses. For creating a commercial website (shop) and selling my dresses I use WordPress with its wonderful plugins. I am not a website developer or expert in creating websites, but all those plugins which I use are very simple and they help me in reaching my aims and even dreams. So, if you have any suggestion or advice feel free to contact me on the LinkedIn: